
As an Amazon Associate I earn from qualifying purchases and sometimes recommend products from other sellers at no extra cost to you. For more details see my disclosure policy and privacy policy.
This post may contain affiliate links - I may make commission from any purchases.
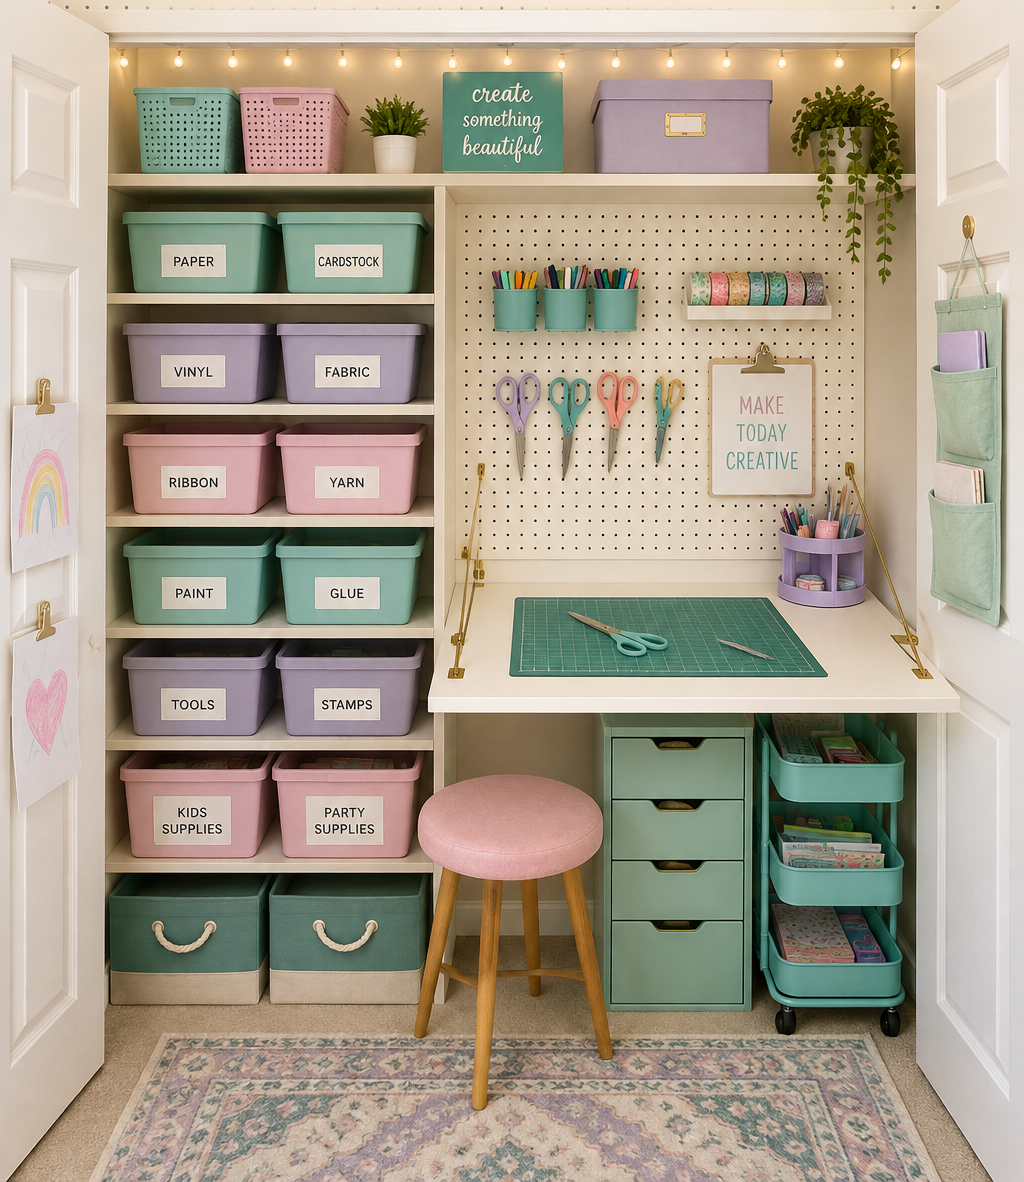
Not everyone gets a dedicated craft room, and that’s completely fine. Most crafters I hear from are working out of a closet, a corner of a bedroom, or a table they share with someone else’s homework or laptop. A real, functional craft space doesn’t need square footage. It needs a system that lets you set up quickly, pack away cleanly, and actually use the space you’ve got without it taking over the room.
This is a guide for exactly that setup, not a smaller version of a “real” craft room, but a genuinely good one built for the space you actually have.
Table of Contents
Start With What You Actually Use
Before you buy a single storage bin, take stock of what you reach for regularly versus what’s been sitting untouched for months. In a small footprint, every item has to earn its place.
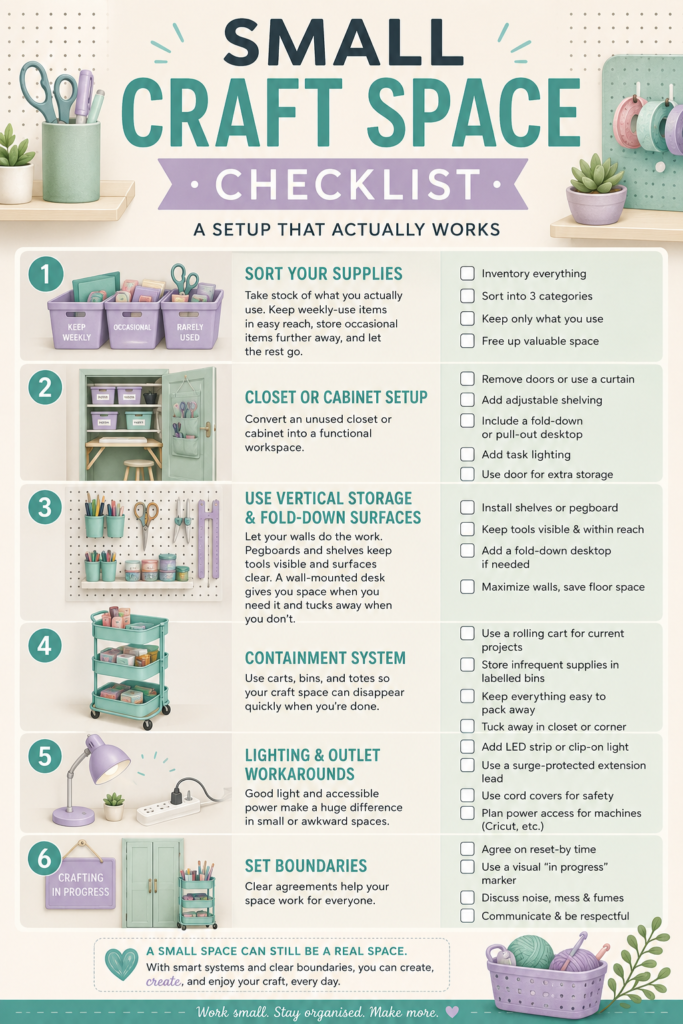
Sort your supplies into three rough categories: tools and materials you use weekly, things you use occasionally for specific projects, and everything else. The weekly items get prime, easy-access real estate. Everything else can live further away or in less convenient storage, since you’re not reaching for it often anyway.
This step alone tends to free up more space than any organiser or cart will.
Closet and Cabinet Conversions
An unused closet is one of the best small-space wins available. Removing the doors (or swapping them for a curtain) opens the space up and makes it feel less like storage and more like a workstation. Custom shelving along the back wall, plus a fold-down or slide-out desktop, turns a few square feet of dead space into a genuinely usable work surface.
A few things that make a closet conversion work long-term:
- Add task lighting. Closets rarely have good natural light, and a small clip lamp or LED strip makes a real difference.
- Use the inside of the door for flat storage, hanging racks for ribbon, tape, or small tools work well here.
- Keep the shelving adjustable if you can. What you need in month one often shifts by month six.
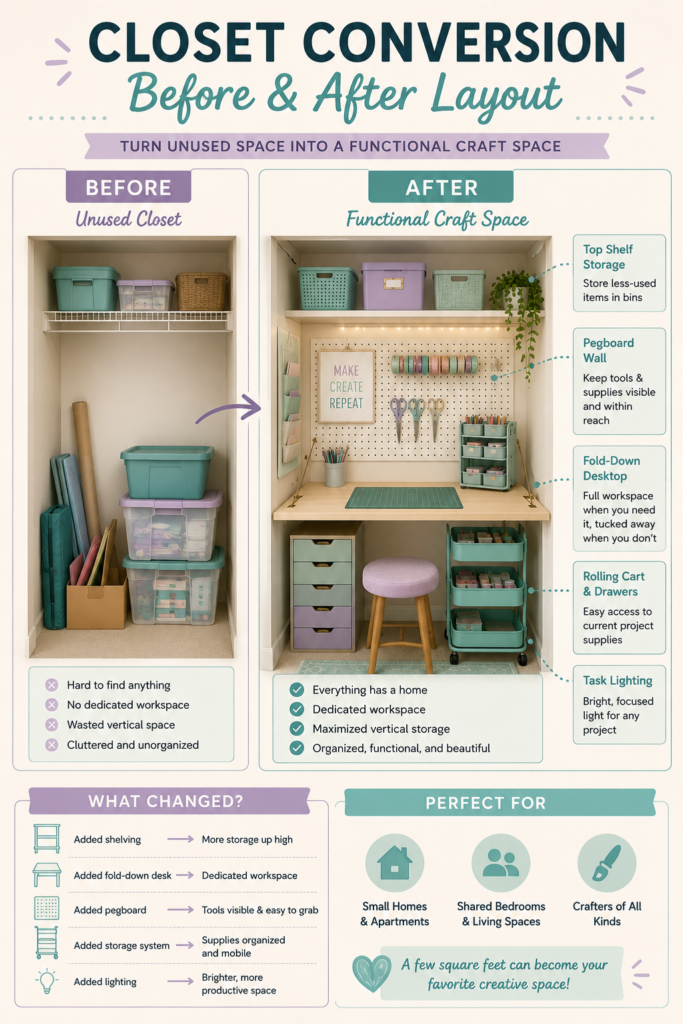
A kitchen cabinet or a section of a wardrobe can work the same way if a full closet isn’t available.
Vertical Storage and Fold-Down Surfaces
When floor space is limited, the walls do the heavy lifting. A few shelves with simple brackets add meaningful storage without eating into your working area. Pegboards are especially useful here, mounted above a desk or table, they keep scissors, tape, rulers, and small tools visible and within reach without cluttering the surface itself.
If you don’t have room for a permanent table, a wall-mounted fold-down desktop gives you a full work surface when you need it and folds flat against the wall when you don’t. It’s a good option for a shared bedroom or a narrow hallway nook where a fixed table simply won’t fit.
Shared-Room Containment Systems
Sharing a space with a partner, roommate, or the rest of the household means your setup needs to disappear quickly when you’re done. The goal is containment systems that pack up cleanly rather than furniture that claims the room permanently.
A rolling cart is one of the most effective tools for this. Stock it with your current project’s supplies, wheel it to wherever you’re working, and roll it back into a closet or corner when you’re finished. It gives you a dedicated workspace without a dedicated room. Lidded bins or totes work the same way for less frequently used supplies, stackable, labelled, and quick to tuck onto a shelf or under a bed.
Our guides to knitting supply storage and embroidery supply storage go deeper into containment systems for those specific crafts, if yours is one of them.
Lighting and Outlet Workarounds
Awkward corners often come with awkward wiring, or none at all. A plug-in LED strip light solves most closet and corner lighting problems without an electrician. For power, a small surge-protected extension lead with a cord cover keeps things safe and tidy if your workspace is further from an outlet than you’d like.
If you’re using a Cricut or similar cutting machine in a tight space, keep its cord routing in mind when you’re planning the layout. It’s a small detail that saves a lot of frustration once you’re actually working.
Setting Boundaries When the Space Is Shared
The practical setup only works if the people around it respect it too. A few boundaries that help:
- Agree on a “reset by” time if the space needs to convert back for other use each day.
- Use a visible marker, a placed cart, a closed cabinet door, a folded-up desk, to signal when you’re mid-project versus done for the day.
- Talk through noise and mess tolerances upfront, especially with cutting machines, glue, or anything that produces dust or fumes.
A little bit of communication goes a lot further than any storage product.
A Small Space Can Still Be a Real Space
None of this is a placeholder until you get a bigger room. A well-planned closet, cart, or corner can genuinely function as a craft space for years, and often runs more efficiently than a sprawling dedicated room would. If you’re working with more square footage and want the fuller setup, our guide to keeping a craft room functional is the companion piece for that.
