As an Amazon Associate I earn from qualifying purchases and sometimes recommend products from other sellers at no extra cost to you. For more details see my disclosure policy and privacy policy.
This post may contain affiliate links - I may make commission from any purchases.
You’ve spent weeks making gifts you’re proud of, and now they’re sitting in a pile waiting for paper. Then comes the hunt: the roll that was definitely in the cupboard, the ribbon tangled around a bag of tags, and a tube of tissue paper that has somehow been squashed flat. Wrapping should be the satisfying final step, not the moment the whole project falls apart.
In my last post I covered organising your craft room for Christmas gift-making season, which is all about the making. This one picks up where that left off and deals with the wrapping, by setting up a proper gift-wrap station in the same room, with a storage system for paper, ribbon, tags and bags, plus a reset for after Christmas so next year starts tidy.
Table of Contents
Why Wrapping Supplies Sprawl
Gift-wrap is awkward to store. Rolls are long, ribbon is tangly, tissue is delicate and tags are tiny, so no single container suits all of it.
It also comes in bursts. You buy a lot in November, use some in December, and shove the remainder wherever there’s a gap in January. By the following year you’ve forgotten what you own and buy it all again.
The fix isn’t to buy more storage straight away. It’s to work out what you actually use, then give each type of item a home that fits its shape.
Start With a Quick Audit
Before you buy a single box, spend twenty minutes finding out what you’ve got. Pull everything out and sort it into piles on a clear table or the floor.
Here’s what I’d sort into:
- Paper rolls: Full rolls, part rolls and offcuts.
- Ribbon and string: Spools, curling ribbon, twine and loose lengths.
- Tags, bows and stickers: Everything small and decorative.
- Tissue and bags: Tissue paper, gift bags and boxes.
- Tools: Scissors, tape, glue dots and pens.
Then be honest about each pile. If you haven’t used a design in two years, if the colours aren’t “you”, or if a roll is mostly creased offcuts, let it go. Recycle what you can, and pass usable extras to a friend, a charity shop or a local school.
Keep a note of your longest roll while you’re at it. You’ll need that measurement, in centimetres, when you choose storage.
Storing Wrapping Paper Rolls
Rolls are usually the biggest headache, and there are a few good ways to tame them.
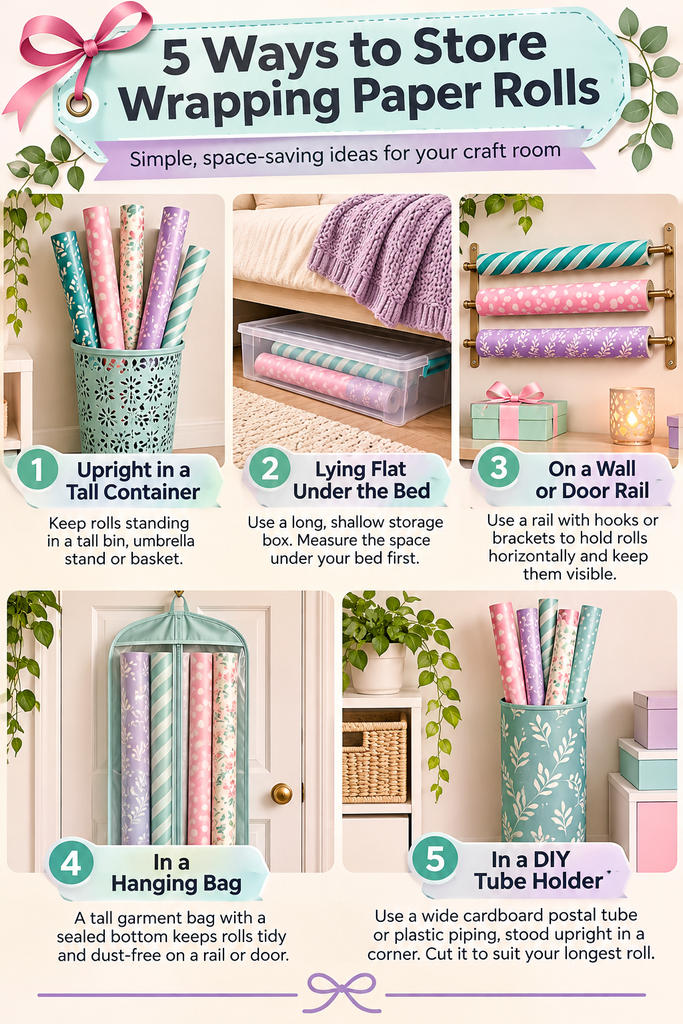
Upright in a tall container: A tall bin, an umbrella stand or a repurposed laundry basket keeps rolls standing like flowers in a vase. It’s cheap, quick and works well if your longest roll isn’t much taller than the container.
Lying flat under the bed: A long, shallow under-bed box is ideal if you’ve got a spare bed or sofa bed in the craft room. Measure the gap beneath the frame in centimetres first, because some beds leave very little room.
On the wall or door: A simple rail with hooks or a pair of wall brackets holds rolls horizontally and keeps them visible. A rail on the back of a door, with clips or small baskets, works well in a tight room and doubles as extra storage.
In a hanging bag: A tall garment bag with a sealed bottom lets you hang rolls from a rail or the back of a door. Make sure the bottom is fully closed, or the rolls will slide straight out.
In a DIY tube holder: A wide cardboard postal tube or a length of plastic piping, stood upright and fixed in a corner, makes a surprisingly sturdy holder. Cut it to suit your longest roll.
For anything stored lying down, a loose cover of tissue or an old pillowcase stops creases and keeps dust off. Secure each roll with a small piece of masking tape or a hair tie so it doesn’t unravel.
A Small-Parts System for Ribbon, Tags and Tissue
Small items need containers that keep them separate and visible. If you can’t see it, you won’t use it.
For ribbon, I like a divided box or a set of shallow trays so each spool sits in its own compartment. A dowel across a drawer or box also works well, with reels threaded on like beads. The same thinking applies to my approach in How to Store Embroidery Supplies, where small, tangly items are kept separate so they don’t knot.
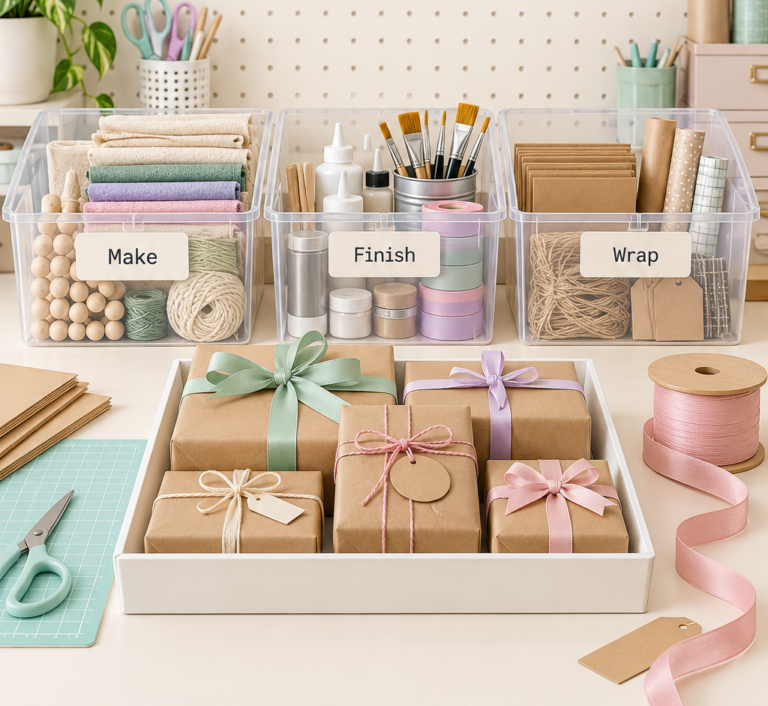
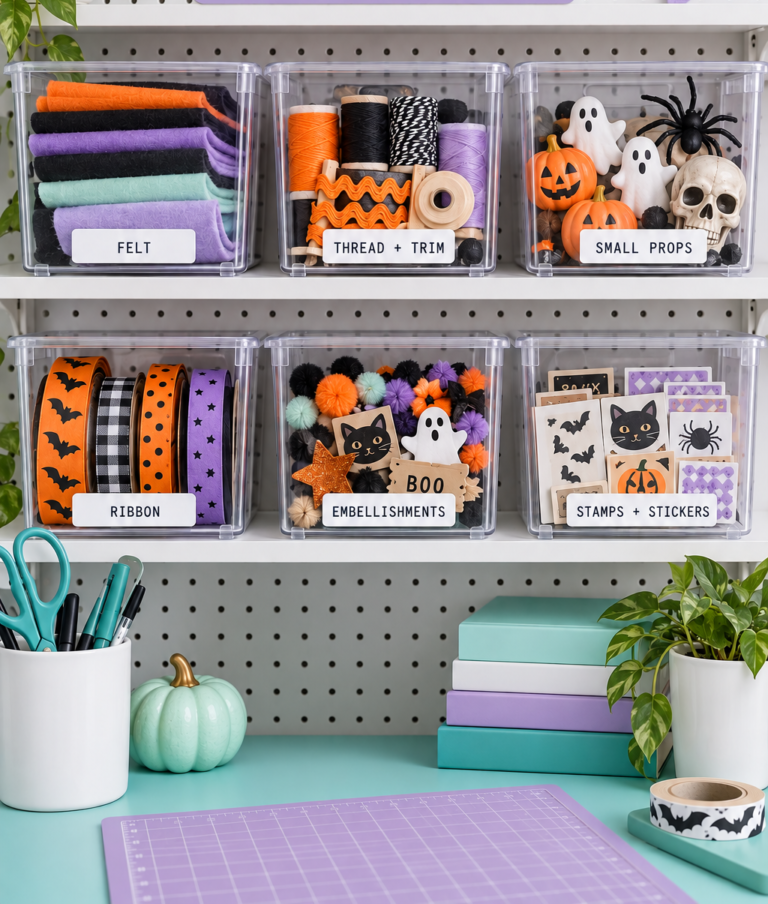
Stackable clear storage bins with lids are a good fit for bows, tags and gift bags, because you can see the contents at a glance and stack them to save floor space. Use one bin per category and keep the lid labels facing out.
Tissue paper is best kept flat or loosely folded in a drawer or shallow tub. Rolling it into a tube tends to leave permanent creases, while a stack in its own box stays crisp.
If you’d like tidy labels on those bins, slide-in label holders are easy to swap when your contents change. For the how-to on making the labels themselves, my printable craft room storage labels post walks you through it, so I won’t repeat it here.
Building a Compact Wrapping Station
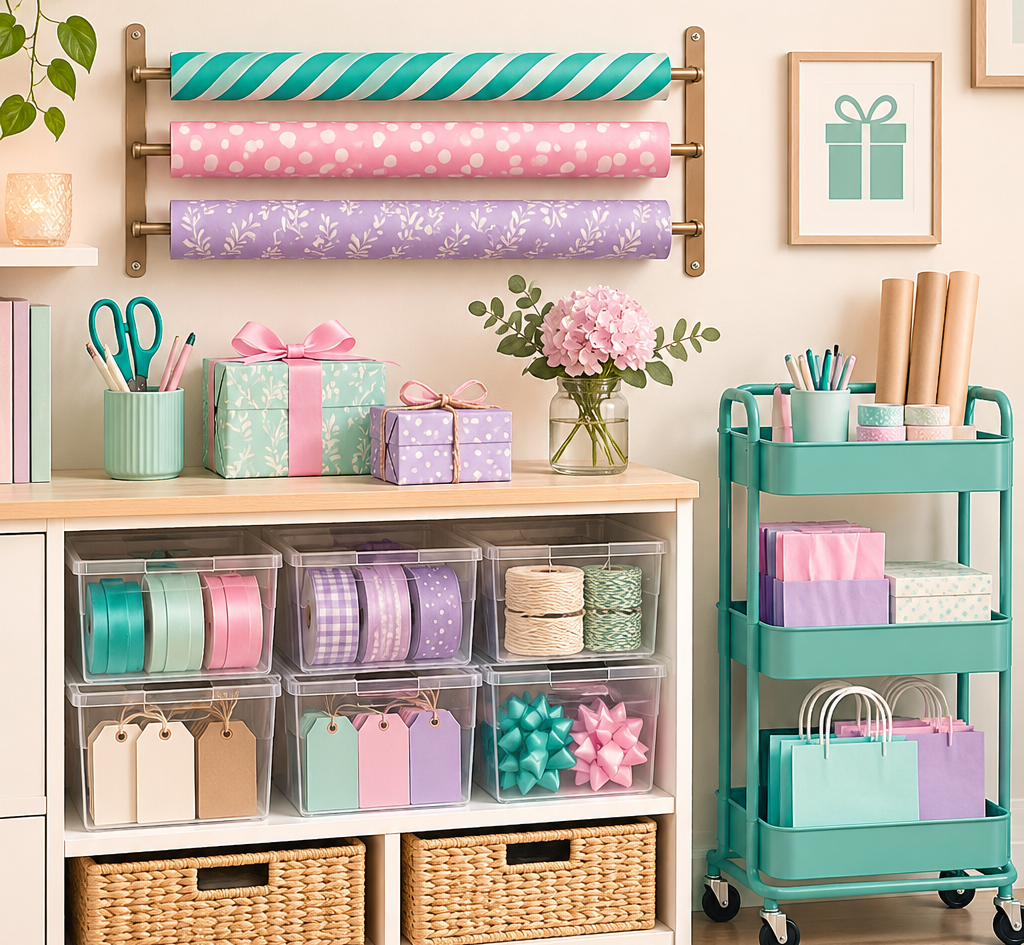
Once everything has a home, put the pieces together so wrapping is a smooth, one-spot job. You don’t need much space, just a flat surface and everything within arm’s reach.
A basic station needs four things:
- A clear work surface: A craft table, a folding table, or a board across two units. It should be long enough to roll out paper, ideally around 60 cm deep.
- Cutting and sticking tools: A pair of sharp scissors, tape in a dispenser and a pen, all kept in a small caddy.
- Paper and ribbon within reach: Rolls and spools stored at hand height, not at the back of a cupboard.
- Small-parts storage nearby: Your tags, bows and bags close enough to grab without moving.
A rolling craft storage cart is brilliant here. Load it with tape, scissors, ribbon and tags, wheel it to the table when you wrap, and tuck it away afterwards. It turns a whole station into something you can pack up in a minute.
A little workflow helps too. Work left to right: gifts and boxes on one side, paper in the middle, and ribbon and tags on the other. That way you’re never reaching across a half-wrapped parcel for the tape.
Keep a spare bin or bag for offcuts and scrap, and empty it as you finish. It stops tiny trimmings drifting into your craft supplies, which is a surprisingly common problem when the wrapping station shares a room with paper crafts.
A small-space or shared-room version
If your craft room doubles as a spare room or office, you’ll need something that disappears. Try the cart idea above, or a lidded under-bed box that holds paper, ribbon and tools in one place. Wrap on your existing table, then pack everything back into the box and slide it away.
Wall space is your friend as well. A narrow rail on the back of a door or a single wall-mounted rack can hold rolls off the floor completely. For more ideas on making a little room work harder, my small craft space ideas post covers closets, corners and shared rooms.
The Post-Christmas Reset
The best time to organise gift-wrap is on 27 December, when the mess is fresh and you know exactly what ran out. A short reset now saves a frantic hunt next November.
Here’s how I’d do it:
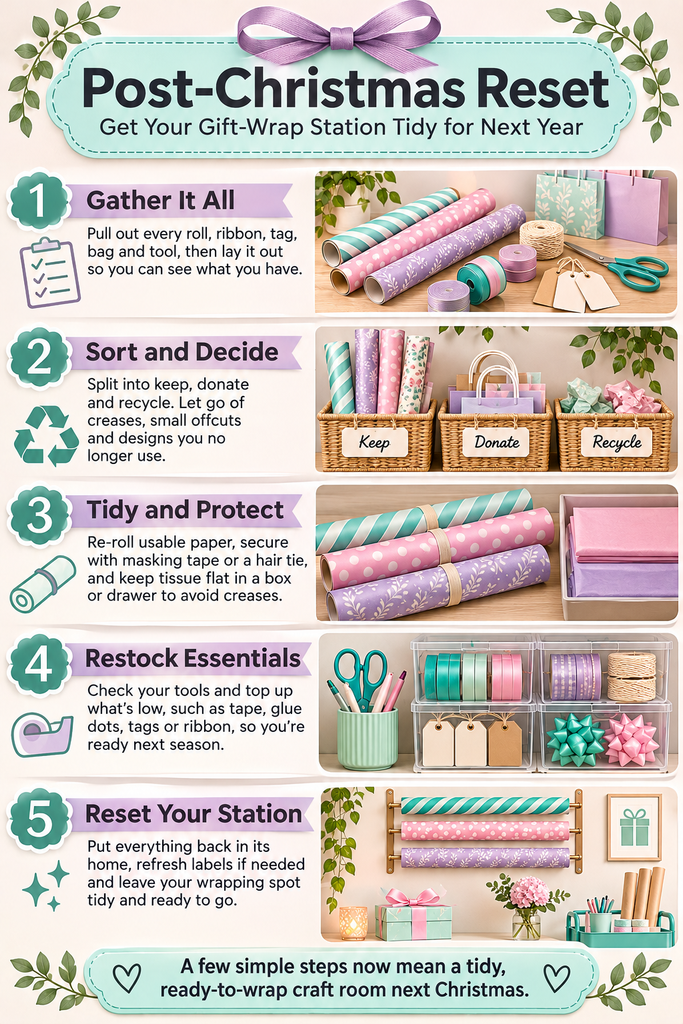
- Gather it all: Collect every leftover roll, ribbon and bag from around the house.
- Decide what to keep: Keep what you genuinely love and will use. Bin the creased, torn and half-used, and recycle paper that isn’t foil or glitter-coated.
- Tidy as you go: Re-roll paper neatly, wind ribbon onto its spool, and flatten and stack tissue and bags.
- Note what’s low: Jot down anything you ran out of so you can buy it in the sales.
- Label and store: Put each category back in its container, label the outside, and slide it into its place.
That last step matters. A clearly labelled box means that in twelve months you can find what you need in seconds. For a bit of extra help, a short inventory list taped inside the lid saves you opening everything to check.
For a broader approach to keeping the whole room in order, my guide on how to keep your craft room functional has a setup and maintenance routine that fits neatly alongside this.
Under-Bed and Wall Storage to Look For
If you’re shopping for new storage, a few types are worth considering. I haven’t yet added specific product recommendations for these, but here’s what I’d look for.
- A long, shallow under-bed box with a zip or lid: Check the length against your longest roll and the depth against your bed clearance.
- A wall-mounted wrapping paper roll holder: Look for one with enough slots for the number of rolls you own.
Whatever you choose, measure twice and buy once, and keep the receipt in case it doesn’t fit.
A Calmer Way to Wrap
A little thought now makes wrapping next year a treat instead of a scramble. Audit what you own, give each type of item a container that suits its shape, and set up a simple station that you can pack away.
Then, once Christmas is over, do the reset while it’s fresh. Future you will be very grateful.