As an Amazon Associate I earn from qualifying purchases and sometimes recommend products from other sellers at no extra cost to you. For more details see my disclosure policy and privacy policy.
This post may contain affiliate links - I may make commission from any purchases.
Every year the same thing happens. You start with a lovely list of handmade gifts in October, and by the first week of December you are surrounded by half-finished projects, a table covered in glue and a nagging sense that the posting deadline is closing in. The problem is rarely your skill or your enthusiasm. It is usually that your craft room is set up for browsing and starting, not for finishing and sending.
Gift-making has a different rhythm to everyday crafting. You are making several things in a set order, against the clock, and every item needs to be finished, packed and posted. A room that works beautifully for a relaxed Sunday project can quietly slow you down when you have twelve gifts to deliver.
This guide shows you how to turn your craft room into a simple gift-making pipeline, with space to make, finish and wrap. It is about organising for deadlines, not decorating for the season. If you want the basics of everyday layout first, our guide to keeping a functional craft room covers the foundations.
Table of Contents
Start by Clearing the Decks
Before you plan anything new, deal with what is already there. Unfinished projects are the biggest drain on gift-making space and attention.
Go through your works in progress and sort them into three groups:
- Finish now: anything that needs less than an hour to complete
- Park: projects you will return to in January, boxed up with a note on where you stopped
- Release: projects you no longer want to finish
Be honest about the last one. Letting go of a project you have outgrown frees up both space and mental energy.
Write a short label for each parked project, including the date, what is left to do and which tools you need. Your January self will be grateful. Then clear your main work surface completely, so you start the season with an empty table.
Plan the Gift List Before You Organise
It is tempting to buy bins and shelves first. Resist that. Your gift list should shape your layout, not the other way around.
Write down every gift you plan to make, with the recipient, the technique and the materials. Then add a realistic finish-by date for each one. Be generous with your estimates, because most projects take longer than we expect once packing is included.
Next, group the gifts by technique and material rather than by person. For example:
- Everything that needs a cutting machine
- Everything that needs paint, glue or varnish
- Everything that needs sewing or stitching
- Everything that needs pouring, melting or curing
This grouping tells you which zones you need to set up. It also lets you batch your work. Cutting ten tags in one sitting is far faster than cutting one tag for each of ten gifts.
If your space is tight, our post on small craft space ideas shows how to make zones work in a corner, a closet or a shared room.
Build a Gift Production Line
The heart of a deadline-friendly craft room is a simple production line. Every gift moves through three stages, and each stage has its own place.
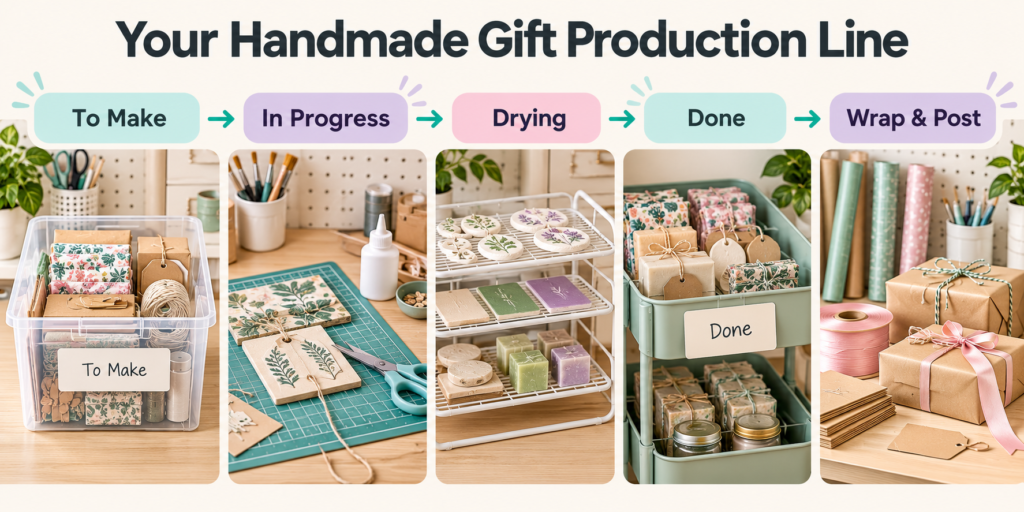
To Make
This is your queue of waiting projects. Keep the materials for each gift together in a clear, stackable bin, so you can pick one up and start immediately. A stackable clear storage bin with a lid works well here, because you can see what is inside without opening it.
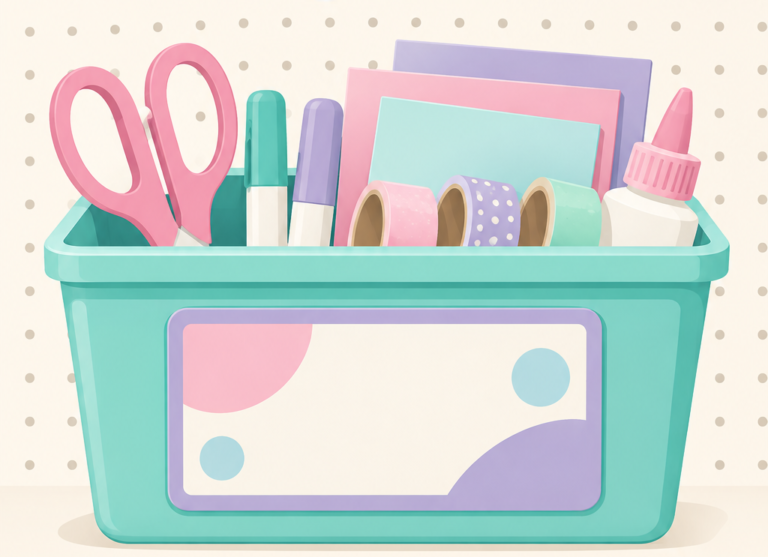
Label each bin with the recipient’s name and the project. If you want a quick way to label them neatly, the printable approach in our guide to craft room storage labels takes only a few minutes.
In Progress
Give yourself one small, dedicated spot for the project you are working on right now. A single tray or a corner of your table is enough. The rule is simple: only one or two gifts in progress at a time.
This stops the common gift-season trap of starting everything and finishing nothing. It also keeps your work surface clear, which means less time spent hunting for tools.
Done
A finished gift needs a safe, clean place to wait. Choose a shelf, a box or a rolling cart where completed items cannot get dusty, squashed or mixed up with materials. A rolling craft storage cart is handy if your space is small, because you can wheel it out of the way when you need the floor.
Add a simple tracking card to the front of the shelf. Moving a card from “to make” to “done” gives a surprising boost of motivation as the pile of finished gifts grows.
Set Up a Drying and Curing Zone
Many handmade gifts need time before they are ready to handle. Glue sets, paint dries, varnish cures, resin hardens and candles need to cool and settle. If you do not plan for this, wet projects end up on the sofa, the stairs or the floor.
Choose a spot for this stage, ideally one that is:
- Flat and stable
- Away from dust, pets and draughts
- Out of the way of your main work
- Close to a window or a ventilated area, where your materials call for it
A stackable drying rack or a spare shelf with baking paper works well. Add a small note to each item with the time it went in and the time it will be ready. Always check the manufacturer’s instructions for drying and curing times, as these vary between products.
Treat this zone as part of your timeline. If a gift needs 48 hours to cure, it should be started well before your deadline, not the night before.
Create a Finishing and Wrapping Station
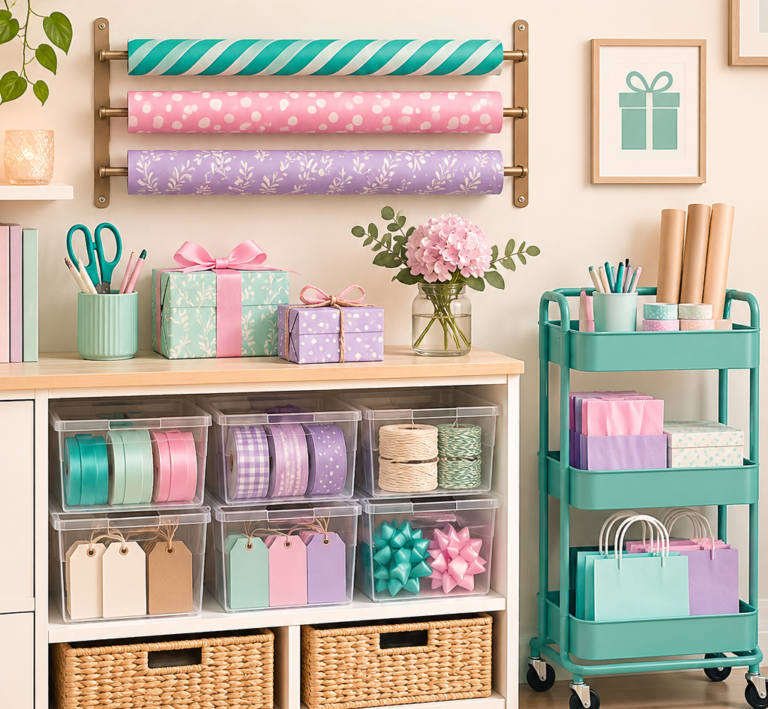
The final stage is the one most crafters forget to plan for. Finished gifts still need tags, wrapping, padding, boxes, address labels and postage. If these supplies are scattered across the house, you will lose hours at the very end.
Set up one dedicated finishing area with:
- Wrapping paper, tissue and ribbon stored together
- Tags, labels, string and tape in a small tray
- Scissors and a craft knife kept in one place
- Postal boxes, mailer bags and padding
- A small set of kitchen or parcel scales for checking weights
- A pen and a notebook for recording what has been sent
Keep the station away from your messy zones, so a glue spill does not ruin a wrapped parcel. A narrow shelf or a rolling cart can hold everything. If you use label holders on your bins, you can slide in a fresh label for each season without relabelling from scratch.
If you are posting gifts, check the current last posting dates on the Royal Mail website before you set your deadlines, as these change each year. Work backwards from those dates and build in a buffer for delays.
Sort Christmas-Only Supplies
Gift-making seasons tend to create a pile of seasonal materials: special papers, ribbons, tags and embellishments. Keep these together in a labelled bin so they do not disappear into your general stash.
Before you buy anything new, audit what you already have against your gift list. Place each project’s materials in its bin, and write a short shopping list for anything missing. You will often discover that you have most of what you need.
This approach has two benefits. You avoid duplicate purchases, and you buy everything in one go rather than making last-minute dashes to the shop.
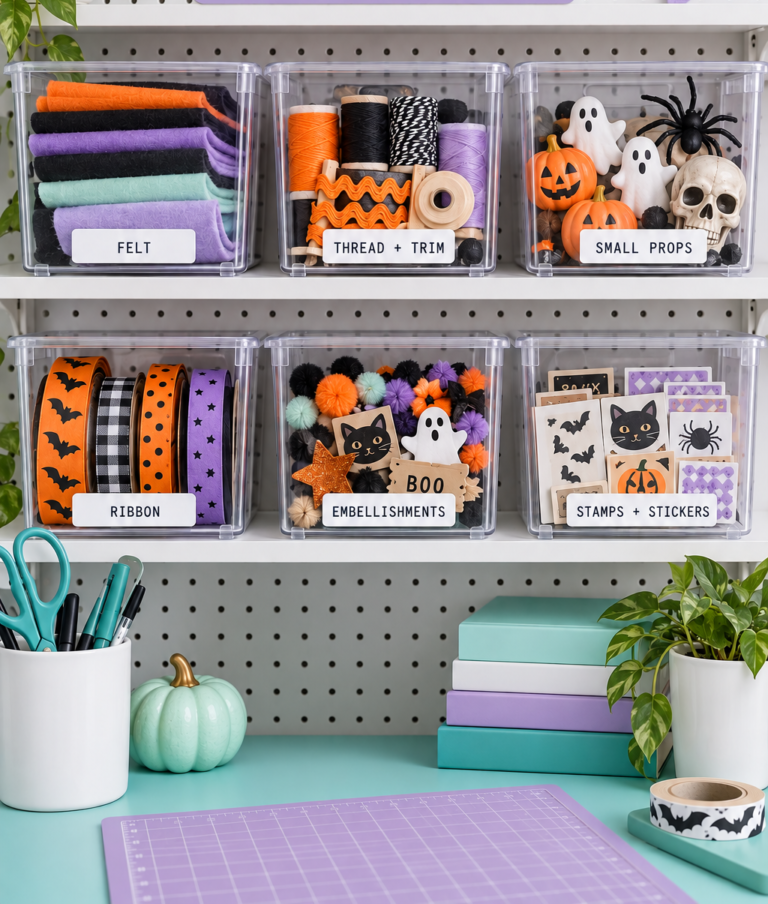
Store the leftovers carefully when the season ends. Put them in a clearly labelled box, ready for next year, and note any quantities. Our post on organising your craft room for Halloween uses the same seasonal-bin idea if you want to see it in action.
A Week-by-Week Timeline for October to December
A calendar keeps the whole system on track. Adjust the dates to suit your own gift list and deadlines.
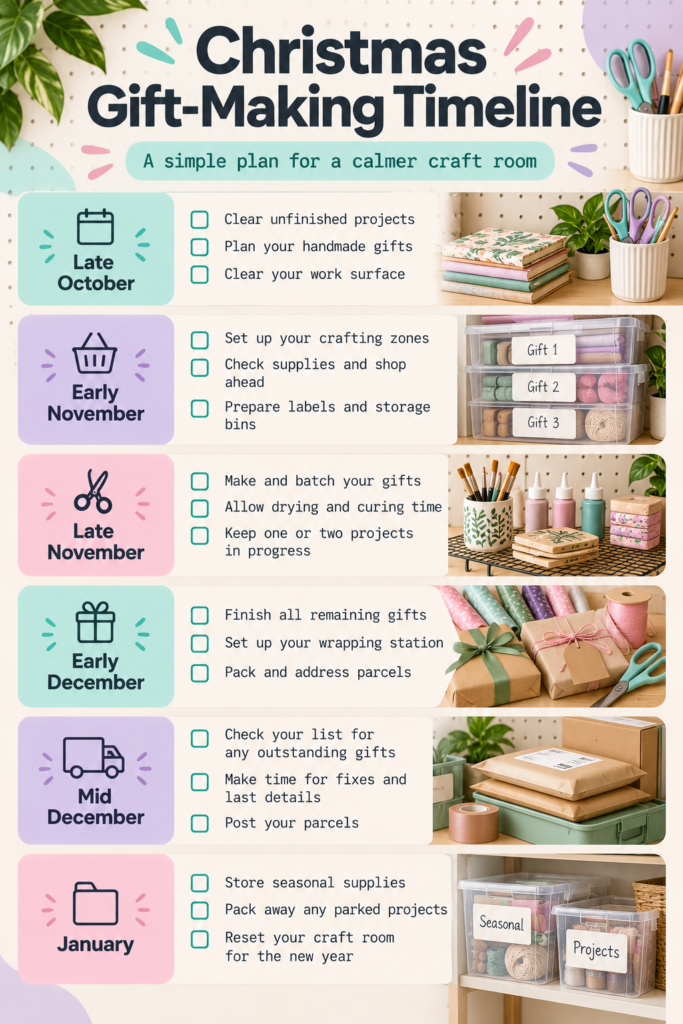
Late October
- Finish, park or release your works in progress
- Write your gift list, with techniques and materials
- Clear your work surface
November, weeks one and two
- Set up your zones: make, in progress, done, drying and finishing
- Audit your stash and write your shopping list
- Order or buy any missing supplies
November, weeks three and four
- Start with the gifts that take longest to cure or dry
- Batch similar techniques together
- Move finished items to the “done” shelf as you go
Early December
- Finish the last projects
- Start wrapping and labelling as soon as each gift is ready
- Pack and post anything that needs to travel, using the dates you checked earlier
Mid-December
- Do a final check of your list
- Keep a small buffer for last-minute repairs or reprints
January reset
- Return your parked projects to the main shelf
- Put seasonal supplies away in their labelled bin
- Clean your work surfaces and review what worked
Write the timeline on a single sheet and pin it where you can see it. You can tick off each stage as you go.
What to Do If You Fall Behind
Even a well-organised room cannot stretch time. If your timeline slips, the pipeline helps you decide what to change rather than panic.
Look at your “to make” bins and ask three questions:
- Which gifts have the longest drying or curing time? Start these immediately
- Which gifts could be simplified without losing their charm?
- Which gifts could be swapped for something quicker using the same materials?
Simplifying is not failing. A neat, well-finished smaller gift is always better than an ambitious one that arrives late or half done.
It also helps to protect your making time. Choose two or three regular sessions each week and treat them as fixed appointments. Set up your station before you begin, so the first ten minutes go on crafting rather than hunting for tools. When the session ends, spend five minutes resetting the table. That small habit stops mess building into a mountain.
Finally, count your capacity honestly in November. If your list needs more hours than you have, trim it then, while there is still time to adjust.
Keep Your System Simple
The best gift-making set-up is the one you actually use. You do not need to buy a new storage system, and you do not need a perfect room. Start with the stages and add storage only where something is genuinely getting in your way.
A few habits make a big difference:
- Reset your table at the end of each session
- Update your tracking card whenever a gift changes stage
- Keep a small “tomorrow” pile for the next project’s materials
- Stop for a quick tidy before the clutter builds up
If a stage starts to feel cluttered, simplify it rather than adding more containers. A clear system should make the season calmer, not busier.
Your Gift-Making Season, Sorted
Organising for gift-making is mostly about giving every handmade present a clear path from idea to parcel. Clear the decks, plan your list, set up a production line, and make space for drying and wrapping. Then work through your timeline one stage at a time.
You will finish earlier, waste less and enjoy the process far more. When you wrap your last gift and the table is clear, you will have a craft room that is ready to roll straight into January.